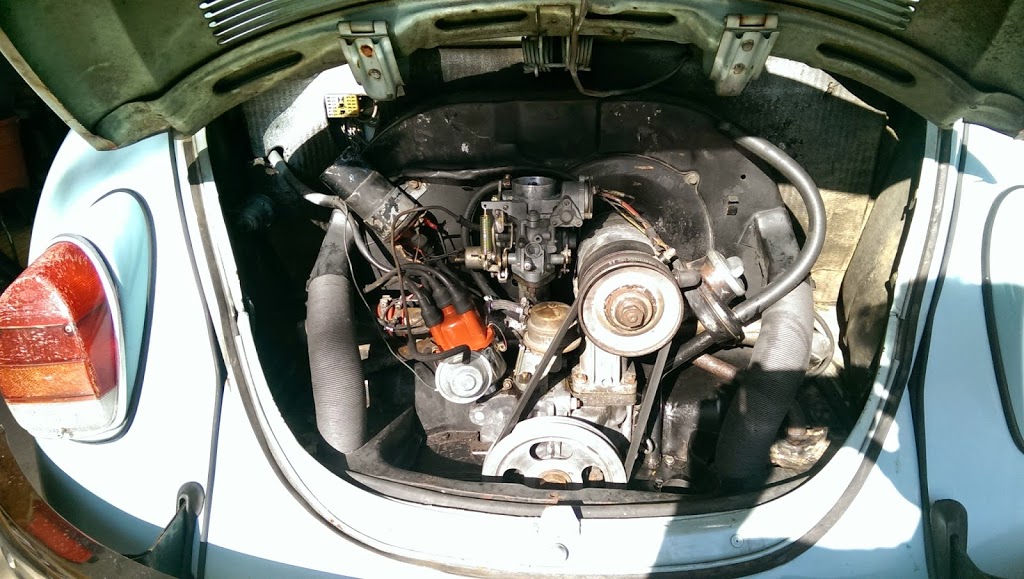
A lot has been going on lately. I sold a house, moved to the city, started a second job, and just started studying for the Professional Engineering exam. So putting pictures of the Beetle’s carburetor (34 PICT-3) has kind of taken a back seat, so to speak. Anyway, here are some of the highlights!
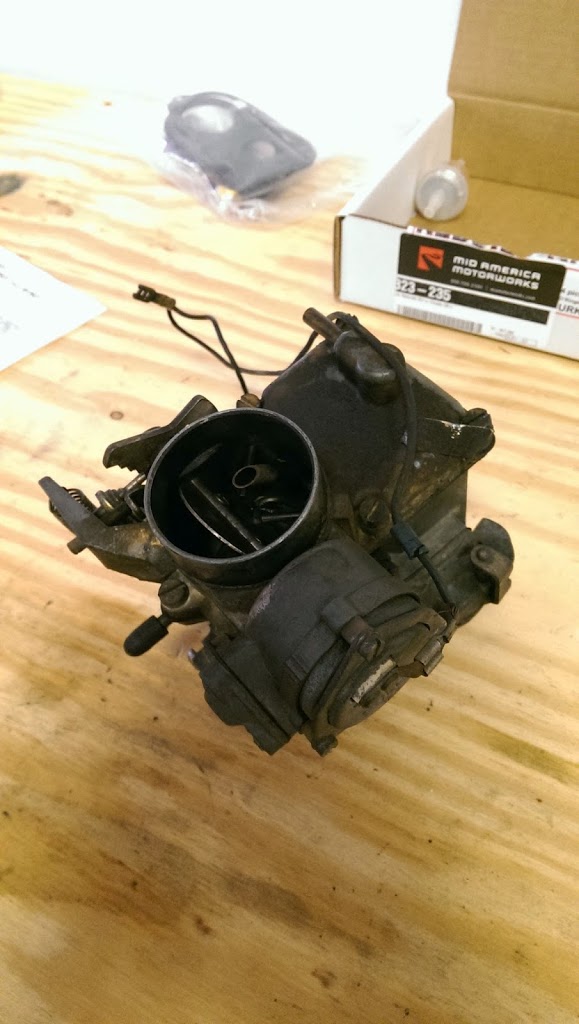
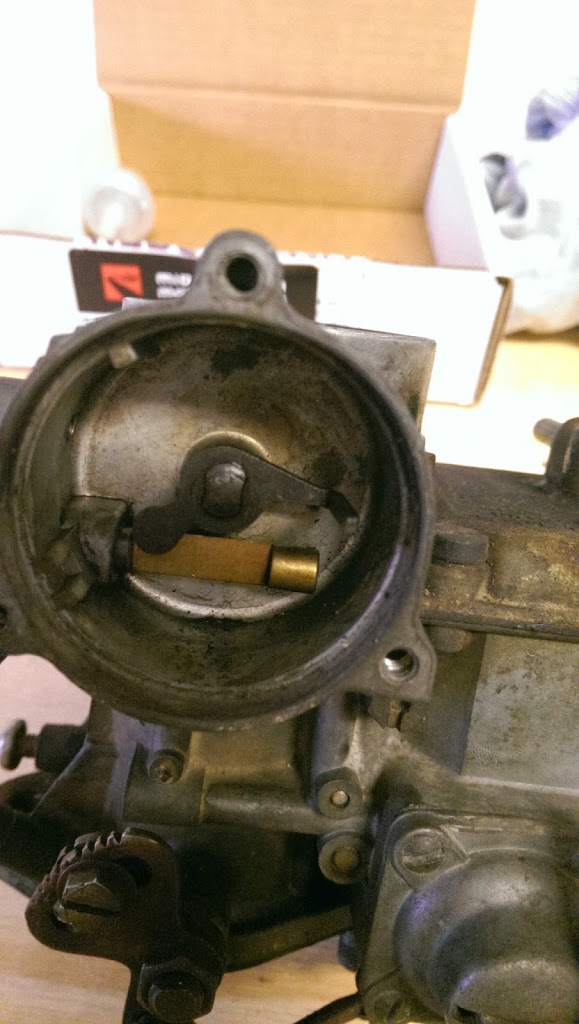
The freshly-removed carburetor, before I removed any of the bits. It’s a little dirty.
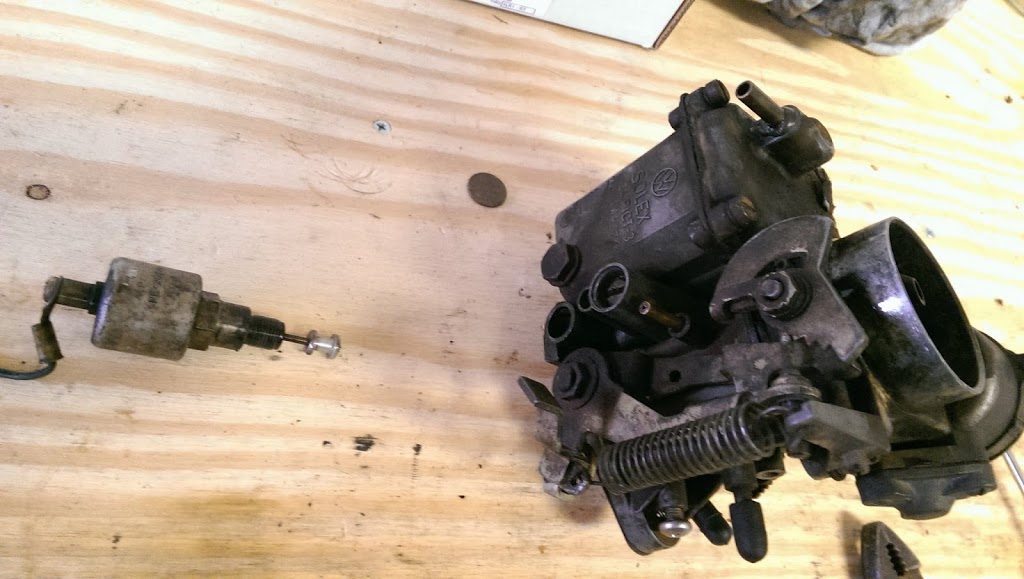
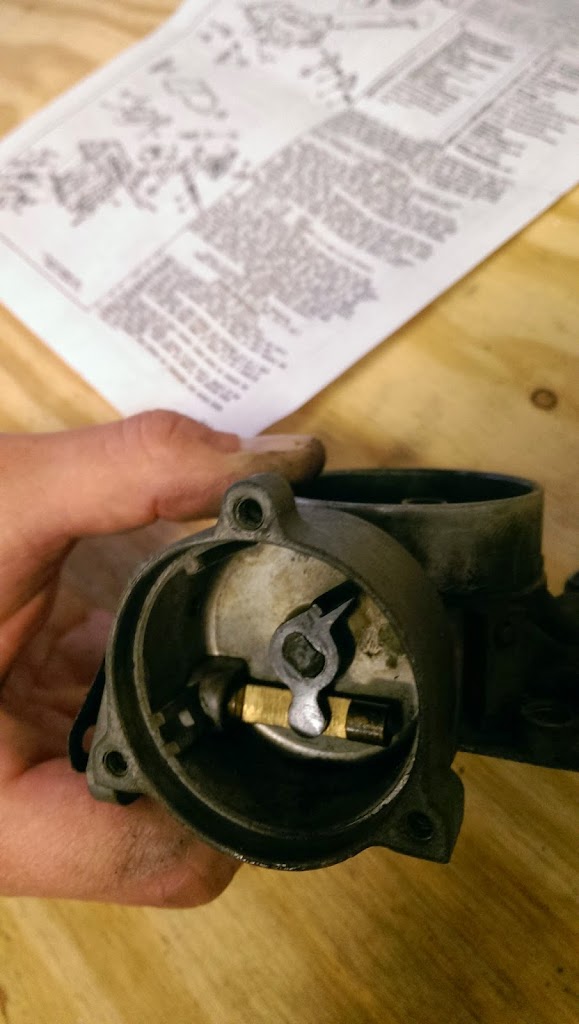
I found out later that this solenoid is the “idle air cutoff”. I don’t really know what this means and I can’t get anyone to tell me, but I found out later that the Beetle was stalling a lot when it would slow down, which was presumably caused by this little valve being loose. So after I screwed this in tightly it stopped stalling.
Automatic choke collar.
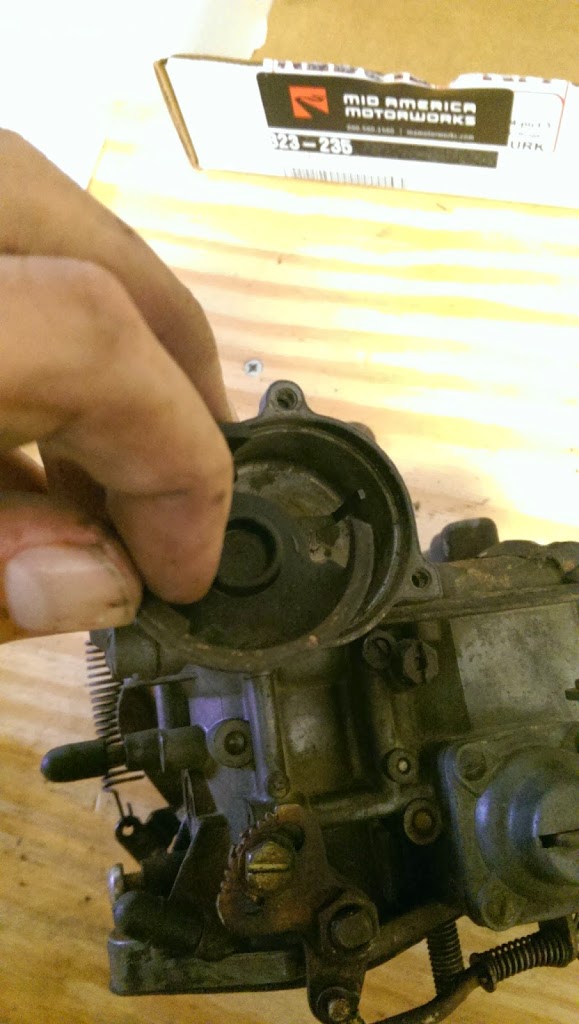
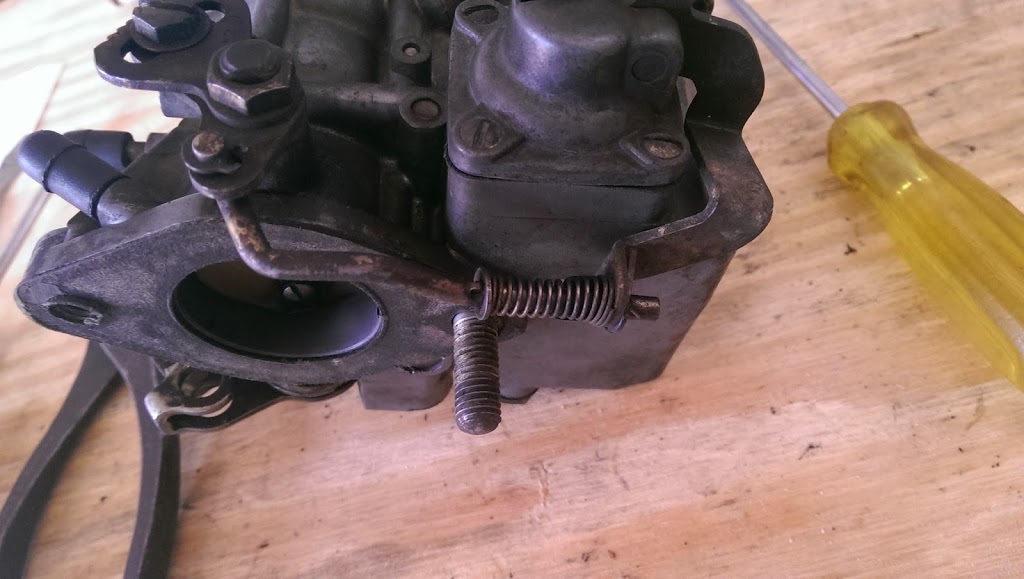
Removing the automatic choke. This had a little problem where it wasn’t set properly. I had to turn the whole assembly clockwise after I reinstalled it to make sure it would actually choke the engine when it was cold.
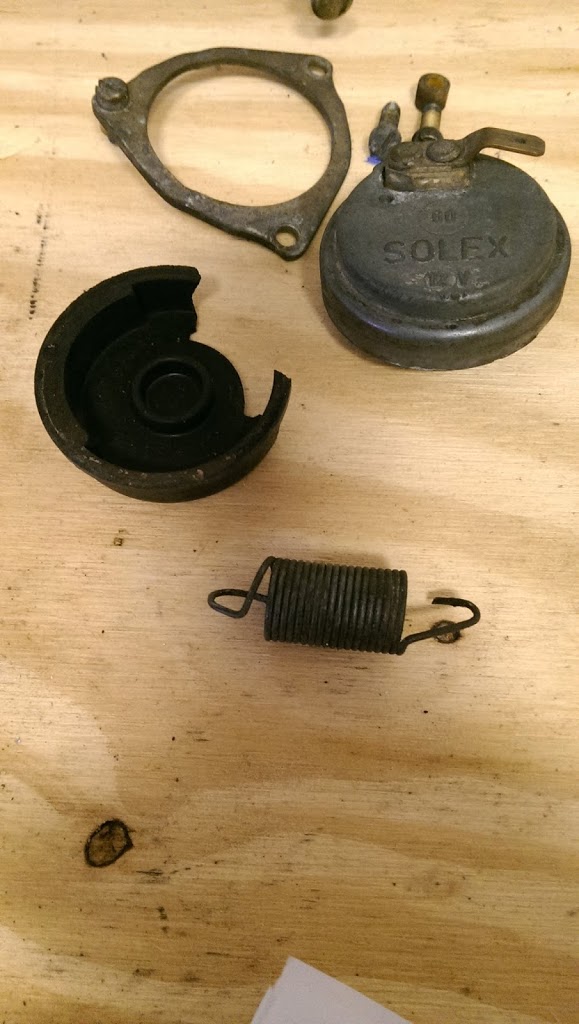
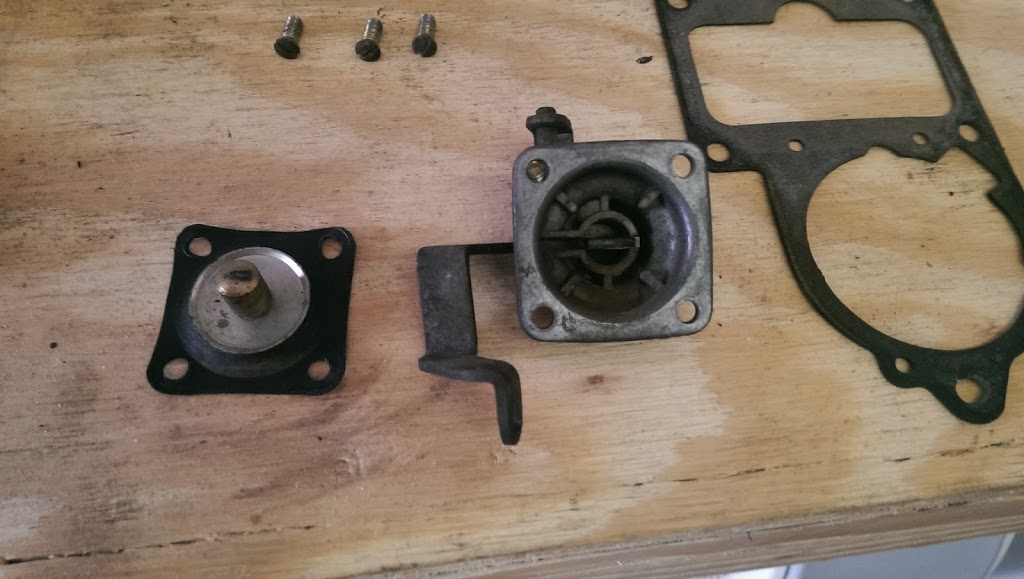
Automatic choke parts
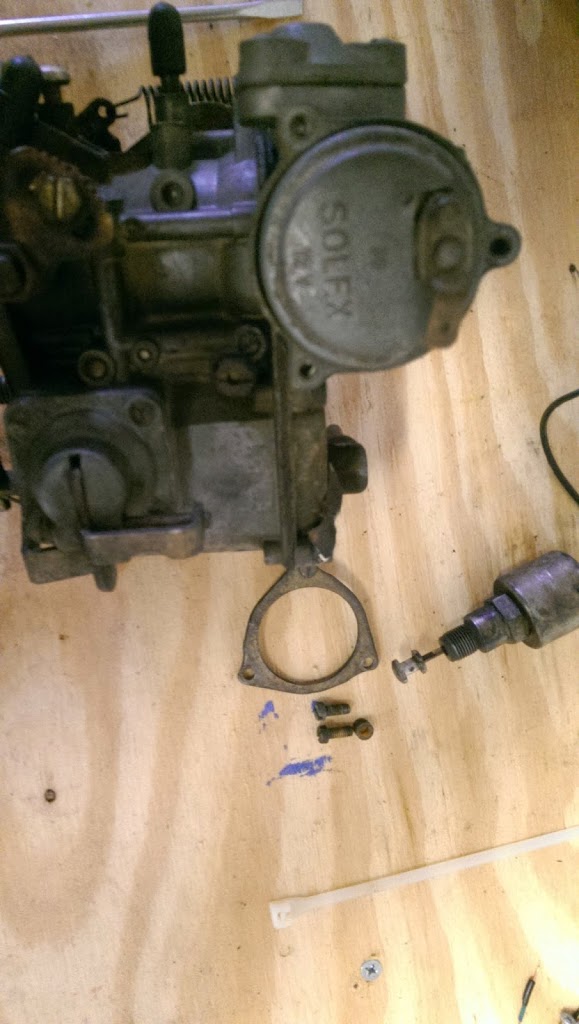
Removing the top half
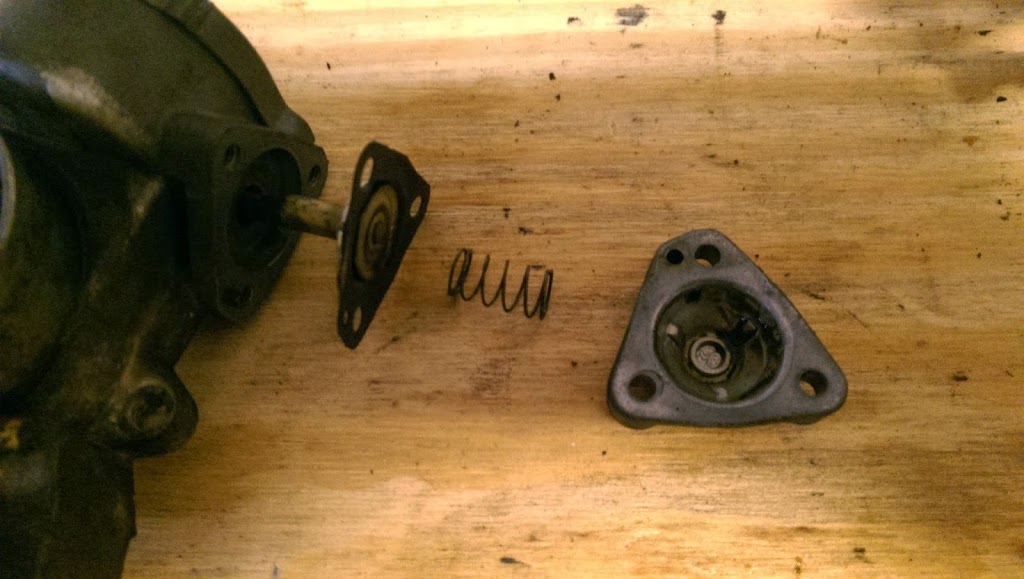
I don’t remember what this part is for.
Automatic choke housing.

Fuel inlet needle. (Controlled by the float)

Old float removed. I lost the pin when I put the new float in and ended up making a new one from a long screw. Then later on I found the pin right in the middle of my work bench. Murphy’s Law of carburetor rebuilds.

Another valve I don’t remember what it does off hand.
Replacement gaskets.
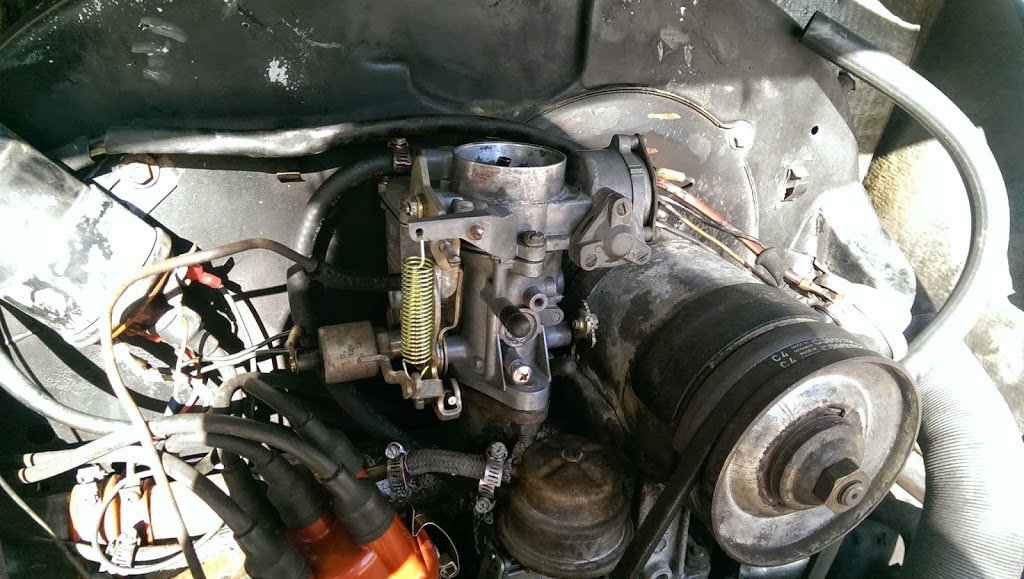
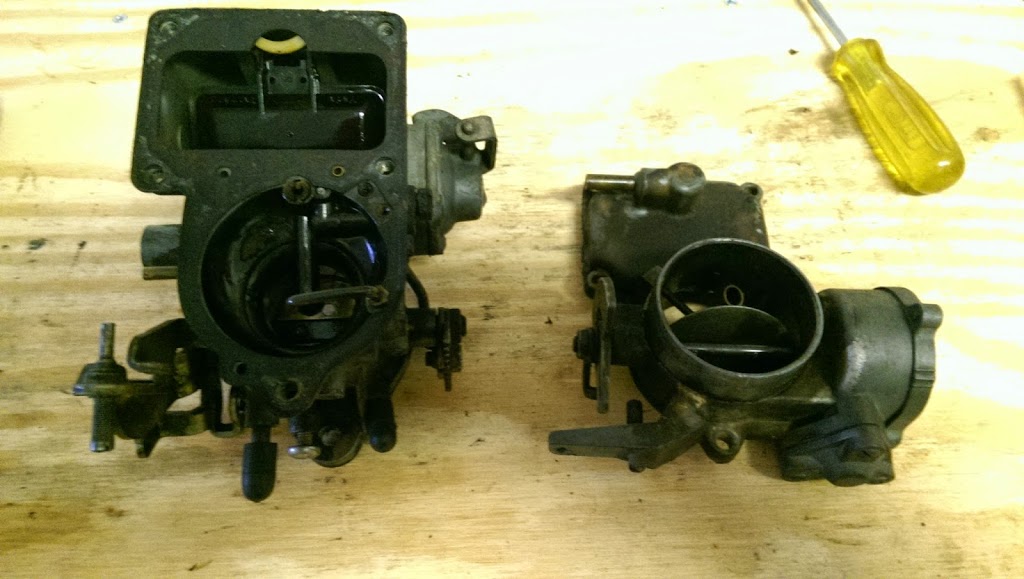
After I put it all back together it’s pretty easy to see the color difference. The car ran amazingly after this, and even better once I figured out that that solenoid was making the car stall.
Don’t worry, I put the air filter on after I flooded the engine and killed the battery. Learn by doing!
QUANTUM BINARY SIGNALS
Professional trading signals sent to your cell phone daily.
Start following our trades NOW & gain up to 270% daily.